One of the biggest struggles I hear about Pinterest marketing is the TIME it takes to create multiple pins, then take them into a scheduler, write titles & descriptions, and get them scheduled. Your plate is already full so I don’t blame you for not wanting to add this to it too. Yes, there are tools out there that are helping streamline this process, but it still takes multiple different apps or tools to complete the entire process. Until now. Tailwind has just launched their newest tool: Tailwind Create.
Imagine if Tailwind and your favorite editing software had a baby, it would be Tailwind Create. I love that blog post
what is Tailwind Create //
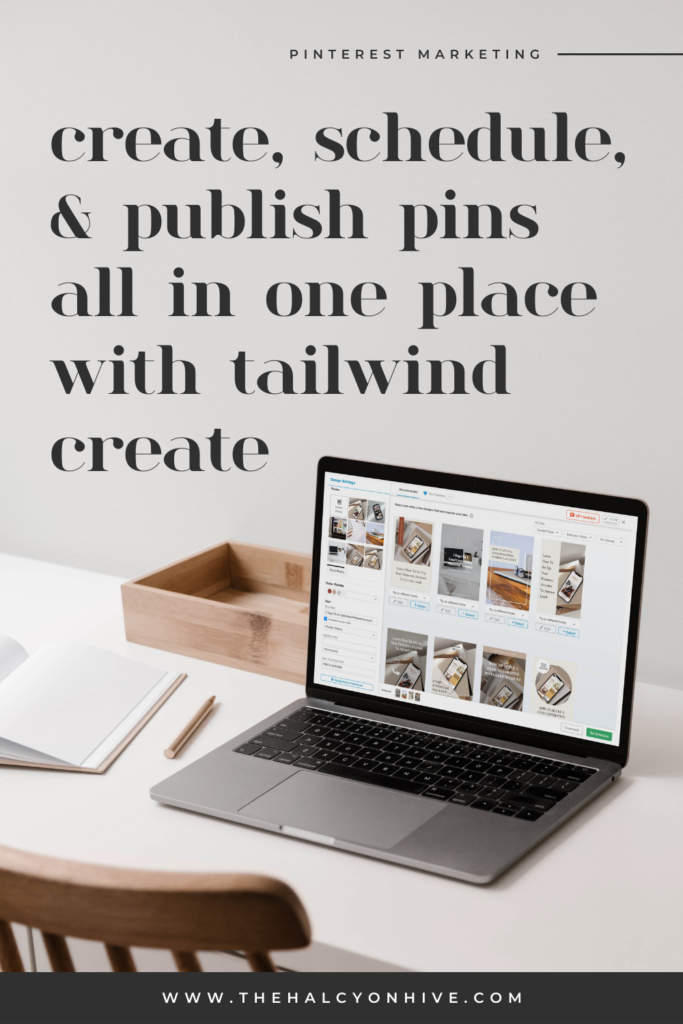
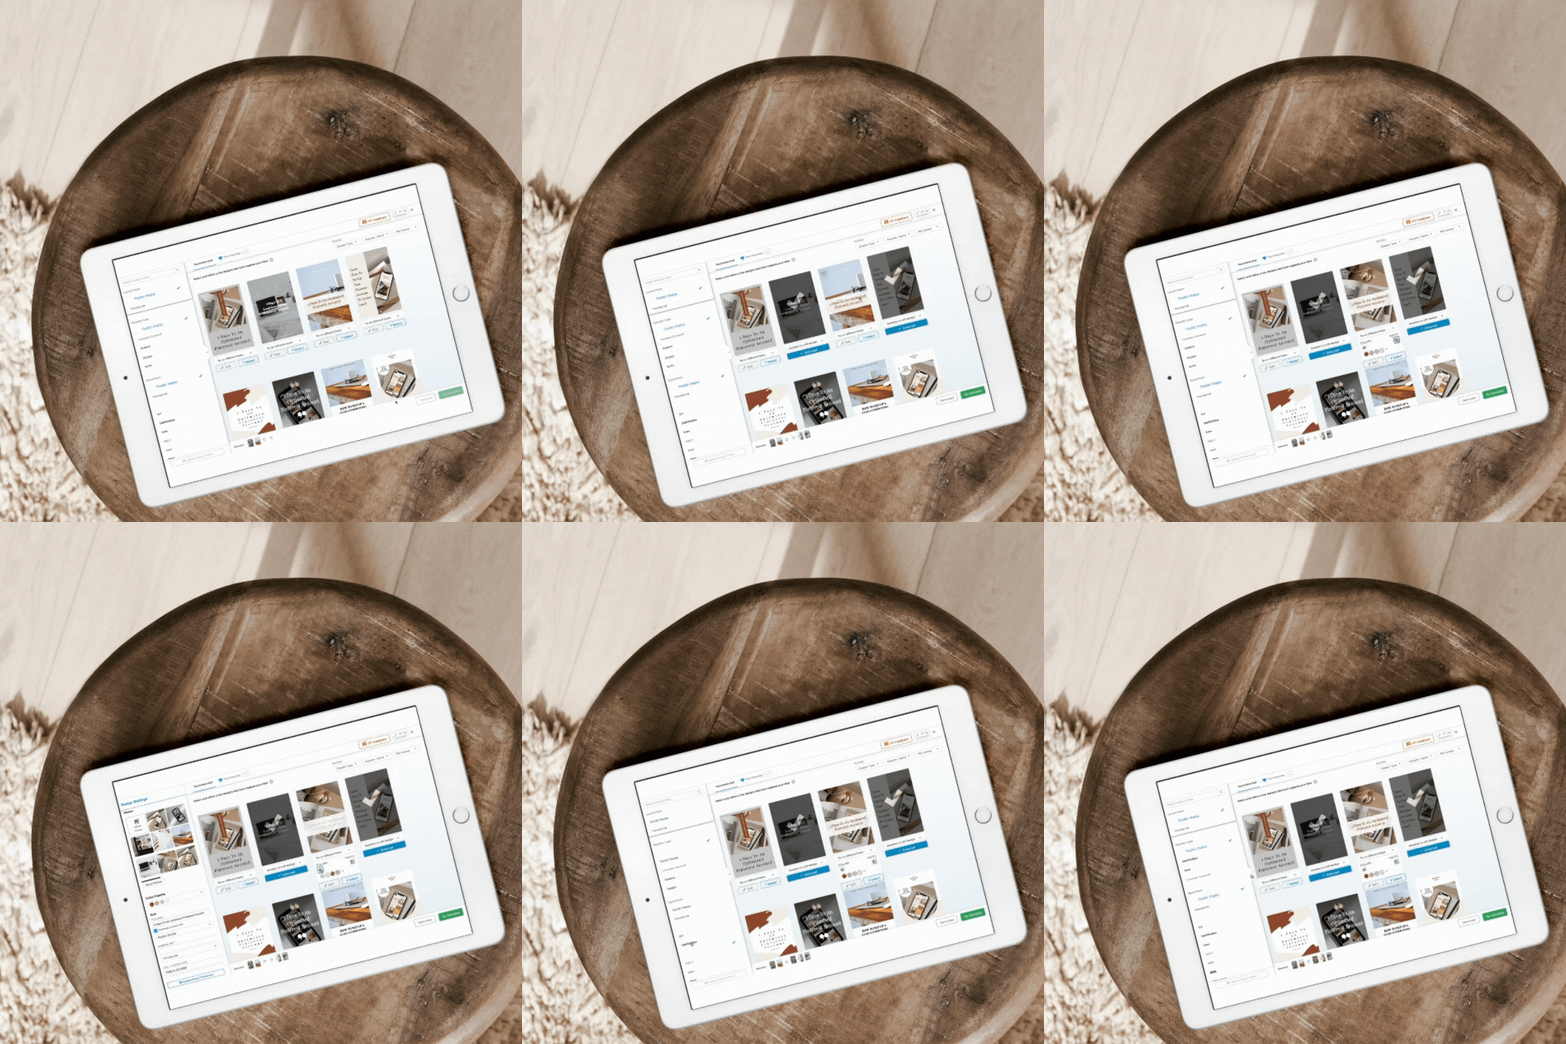
Here’s the quick and dirty – Tailwind Create is the new pin design tool housed right on the Tailwind dashboard. Save time (and computer memory!) by creating hundreds of pins that can seamlessly be scheduled into your queue without having to download a single pin. Check out the tutorial below for a walkthrough on how easy it is to use! Want to get creating? All you need to get started is a FREE Tailwind plan. >> Sign up for your free Tailwind Plan Here (no credit card required)
who is Tailwind Create for //
Tailwind Create was designed with busy entrepreneurs, bloggers, VA’s, and social media managers in mind. They heard our grumbling about how much time we spent creating pins on other design platforms then scheduling them in Tailwind. It’s also great for anyone who is not confident in their design skills or simply struggles with creating new pin designs. Tailwind create does it all for you.
how much does it cost? //
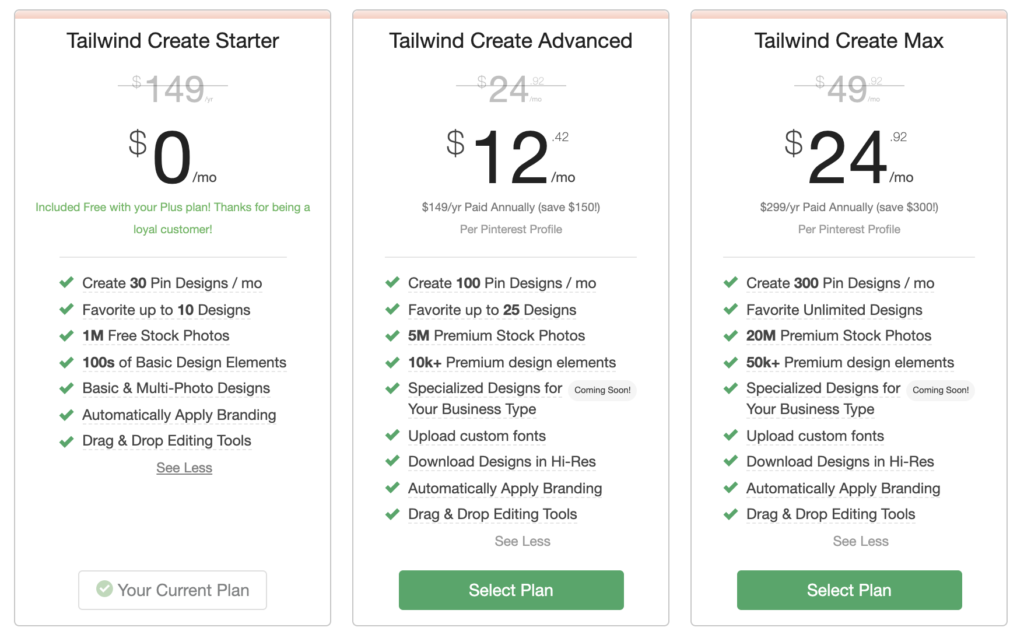
Tailwind Create is actually FREE for anyone who is on Tailwind’s Plus plan. >>Sign up for a free Tailwind account or upgrade to the Plus plan to start using Tailwind Create. The free Tailwind Create starter allows you to create up to 30 pin designs a month, access to 1 million free stock photos, drag & drop editing tools, and more. Give it a try and if you love it, you can upgrade to access even more! *Because Tailwind Create is still in its early days, the pricing plans are still preliminary and might still change.
For a limited time, Tailwind is offering a special 50% launch discount, which you can use on any higher tier Create plan. Upgrade now before the discount ends and you’ll lock in this discount for life.
>> Click Here to claim your discount on all Tailwind Create plans.
Fun Fact – Making and sharing Pins with Tailwind Create resulted in 373% more saves than did resharing existing content! >> Click here to read the study.
Now let’s get into the good stuff. Here is an overview of how to use Tailwind Create and some of my favorite features.
Set your brand preferences //
The first thing you’ll want to do is add your Brand preferences. This includes your brand colors, logos, and fonts. It’s important to do this step first since it pulls all of this through to your pin designs. You get four color selections so if you have more than that just stick to your main colors **Tip** I probably wouldn’t use black unless it’s one of your main colors). You can always select different colors in the editor so don’t get too hung up on this. Next choose from a variety of font options (Bonus – if you don’t know which fonts go well together, they provide some great suggestions for you!). Don’t see your specific brand font? No worries! Use something similar or upgrade plans to upload your own custom fonts! 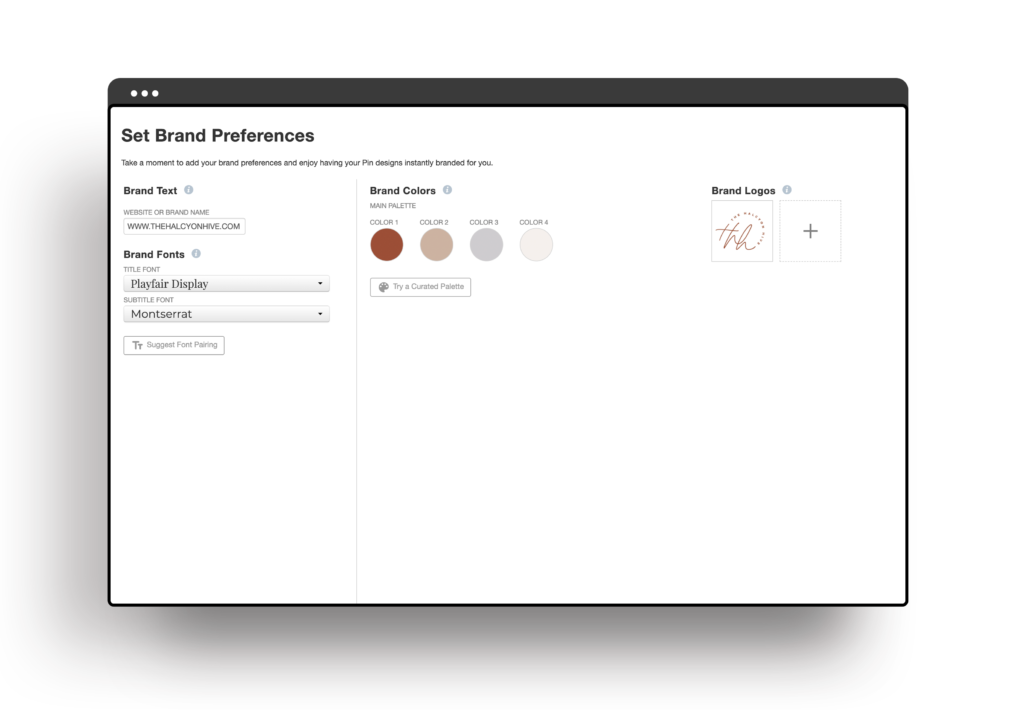
Start a new design //
Next, you want to click to “start designing” and fill in all of your pin’s primary information.
- Enter the Destination link (the product, blog post, etc. that you want your pin to lead)
- Write your pin title (This is auto-filled but you can also enter a custom title)
- Upload or choose stock photos. You can even select photos that are pulled from your URL.
- Click “Create images” … and watch the magic happen!

Selecting & Editing your pins //
Now is the fun part, but it’s also easy to get overwhelmed here. You’ll see there are HUNDREDS of pin designs and some of them will need a little bit of fine-tuning, but starting with these pre-populated pins gives you a great headstart. I LOVE the filter feature up at the top right. You can filter by Content Type (i.e. blog post, opt-in offer, promotion/sale, Recipe Pin, Product, etc.), Industry/Niche, or by Pin Format. This allows you to see different styles of pins without having to scroll through everything.
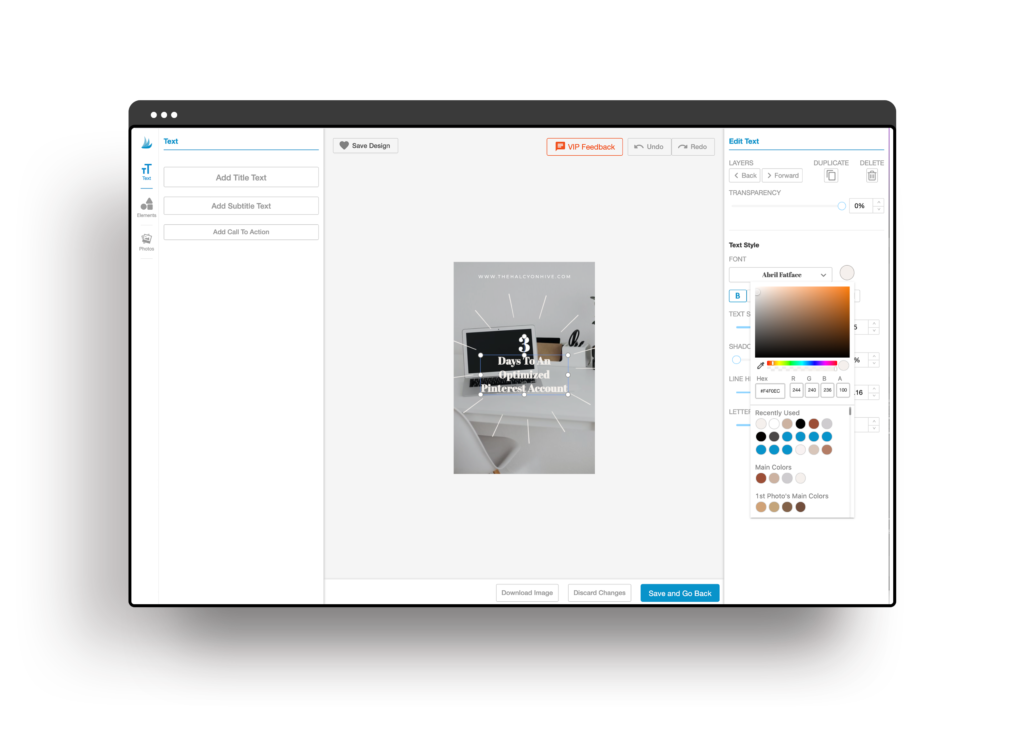
Next, you can start customizing! The most efficient thing to do is to find the pins that need the least amount of formatting. Play around a bit with the font options and colors over on the left-hand side for more variations. Try adding a subtitle and/or a call-to-action as well!

Once you find some you love, you can click the blue “+ Select” button and it will add it to your collection at the bottom. If you’d like to make minor edits (i.e. change the background image or the colors on the pin), click the drop-down that says “Try on different looks”. Not in love with the photos you previously added? Go ahead and add more at any time up on the left-hand side of the editor.
Advanced Editing //
In addition to these mini-edits, you can also make bigger tweaks to individual pins. To do this, click on the “Edit” button located below the pin. This will allow you to do advanced editing on a template that you like but want to add a little something to the pre-existing design. If you like a template, you can click the heart icon at the top to add them to your favorites and use it again for new content.
Schedule & Publish //
Once you are happy with your selection of pins, click the green “Go Schedule” button to transfer them to your Drafts folder. You’re almost done! You’ll see the destination URL and the title are pre-filled for you. Now all you have to do is enter a Pin description then they are ready to be shared to your Tailwind Communities and scheduled to your boards. Remember to use Interval Scheduling when you are scheduling a pin to more than one board — for more information on how to Interval Schedule, check out THIS POST.
**TIP** Keep a spreadsheet of all your blog posts, products, opt-ins, etc. with 3+ pin descriptions for each. That way you can simply copy and paste your pin descriptions that align most with your pin title. I include the spreadsheet I use in my Pinterest Marketing Toolkit.
Pro tips to get the most out of a piece of content //
Pinterest has emphasized they want fresh, new content, but what do you do when you only publish one or two blog posts a month (if that!)? Create pins that spin your content to appeal to different audiences. i.e. Don’t use the same exact title or photos on all of the pins you create. Mix it up and use different phrases or keywords to help you show up in different search results. Think about what trends can you incorporate? How can you re-word your titles to touch on different problems a user might face?
So give it a try! With Tailwind Create, e
This post may contains affiliate links, meaning that if you choose to click through and make a purchase, I will receive a small commission at no cost to you.
Leave a Reply
close
with code: CYBER20
Cyber week sale!
let's shop!
Take 20% off your purchase
Offer valid through 11:59pm CST on 12/02/2022
Promo code (if applicable) must be entered at checkout. Cannot be combined with other codes or used on the Pinterest Template Bundle. Not valid on previous purchases. Not responsible for forgotten or misused promo codes. Offer subject to change


Great article, very helpful thank you 🌻
I’m glad you found it helpful! Have you tried Tailwind Create for yourself yet? What do you think?